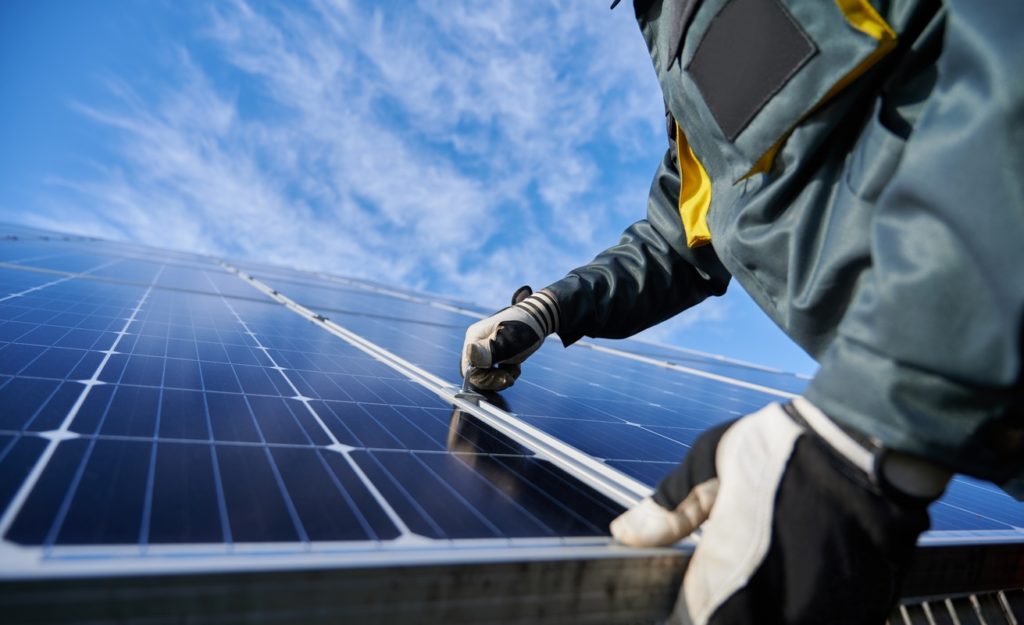
How are solar panels installed?

If you are considering generating your own electricity and saving money on your energy bills by having a solar panel system installed, then you may be wondering how the solar panels are installed on your roof.
This blog gives an overview of the solar panel installation process, so you are fully informed before you make your green investment.
Erecting the scaffolding
Scaffolding is erected to provide a working platform for the Solar PV roof installers. The scaffolding usually will go up two days before the installation to make sure there is plenty of time to make everything safe for the installers.
Fitting the roof anchors
Roof anchors are the stainless-steel hooks that screw into the rafters of the roof, forming a base for the mounting system. The roof anchors are hidden from view once the solar panels have been fixed on to the roof and are a crucial part of the solar panel system.
There are many types of roof anchors, and the one used will depend on the type of roof covering.
Roof anchors are screwed to the rafters. The Solar PV roof installer will check where the rafters lie in relation to the existing roof finish. The anchors will be positioned on top of the roof in their intended position.
Attaching the frame
The aluminium bars that make up the frame are then locked into the anchors and screwed into place checking each bar to make sure it’s straight, and that all the bars are parallel. This is the most important step in making sure the panels will look correct.
Installing the panels
With the bars in place, the next step is to clamp the panels to the frame. As well as taking measurements and checking that the panels look straight – not just from sitting on the roof, but from down on the ground too.
Roofs are very rarely perfectly straight, inevitable the ridge, the eaves and the ground will not run parallel to each other. Solar PV installations look best when the panels run parallel to the edge that is nearest them, usually the eaves. For most consumers, after performance the aesthetics are the next most important aspect of their solar panel installation.
Wiring the solar panels on the roof
To get the finished system connected, the installer will need to run the DC wiring from the panels into the property, hiding as much of the wiring as possible, by routing the cable through the roof surface under the panels.
The DC wiring is usually routed under the roof finish, with a protective sleeve over them to stop the roof covering damaging the wires over time. If it is a slate roof, a small hole will be drilled in the slate which the cables are fed through and then the roof is made waterproof with a lead soaker. These wires are then fed into the inverter.
Inside your home
While all this work has been carried out on the roof to install the solar panels on the roof, the electrician will be working to get the inverter connected to the rest of your property’s electricity supply. They will have mounted the inverter in a pre-agreed location and installed all the electrical safety equipment to make sure the system is safe.
Before the final connections can be made, a small modern consumer unit and generation meter will be installed next to your existing fuse box, which connects to the existing supply. Your power will need to be switched off to do this.
An inverter board will be fitted in your loft space – this will accommodate the inverter, the generation meter and an isolation switch.
Commissioning the solar panel system
This is the exciting bit. Once the wiring is complete, the Electrician will switch on the inverter and power up the system.
4 reasons to have Solar PV installed
- Generate your own green renewable electricity
- Save money on your energy bills
- Improve the EPC rating of your home
- Reduce your carbon footprint
Find out more about how solar panels work.


